I am really into fruit in my salads. I know, I should be putting veggies in there, but I find that I eat more veggies at dinner, when I can marinate, steam and grill them. I have never really been a raw veggie fan, with the exception of carrots and celery.
The Green Vegetarian Balsamic picnic salad was AMAZING! Since I can't go there every day (I wish) I decided to copycat it at home, to get my fix. I went to Sunflower Market and bought bulk mixed green, fresh spinach and hearts of romaine. I also bought apples, strawberries, figs and pecans, which are used in Green's salad.
When my friend Allison refused to eat a fig from my salad and told me she'd tell me how they were made later that day, I was curious. I was so happy to have discovered figs, but soon after, my desire for them would wane. I would have NEVER, in a million years, thought that figs involve the death of something. Basically, figs are pollinated by fig wasps. A fig is an inverted flower. So, the fig wasps have to go inside the fig to pollinate it. The relationship is a unique one because it is the only source of food for the wasps. So, they enter the fig flower, they eat, pollinate and then DIE inside the figs. You aren't eating the wasps in "wasp form", but you are eating the protein source that once was a wasp. The wasps get broken down during the growth of a fig. Ew, huh?! I have a whole bag that I literally just opened, sitting in my pantry.....any takers?!
A wonderful, amazing replacement for figs in this salad is dates! I found some dried diced dates at Sunflower and just sprinkled a few on my salad.
I have to figure out how to make balsamic vinaigrette. It should be easy. I used some leftover from my Green salad, which is soooooo good.
Copycat Green Vegetarian Balsamic Picnic Salad (minus the figs)
1 cup mixed greens
1/2 cup spinach
1 cup romaine lettuce
4 large strawberries (thinly-sliced)
1/2 pink lady apple (thinly-sliced)
10 whole pecans
2 tbsp dried diced dated
Toss together and serve with balsamic vinaigrette.
Friday, April 30, 2010
Mandoline take 1
My first attempt with the mandoline this morning prompted Matt to insist on doing the slicing from here on out. He is always thinking I am going to cut my fingers off with knives and sharp kitchen utensils.
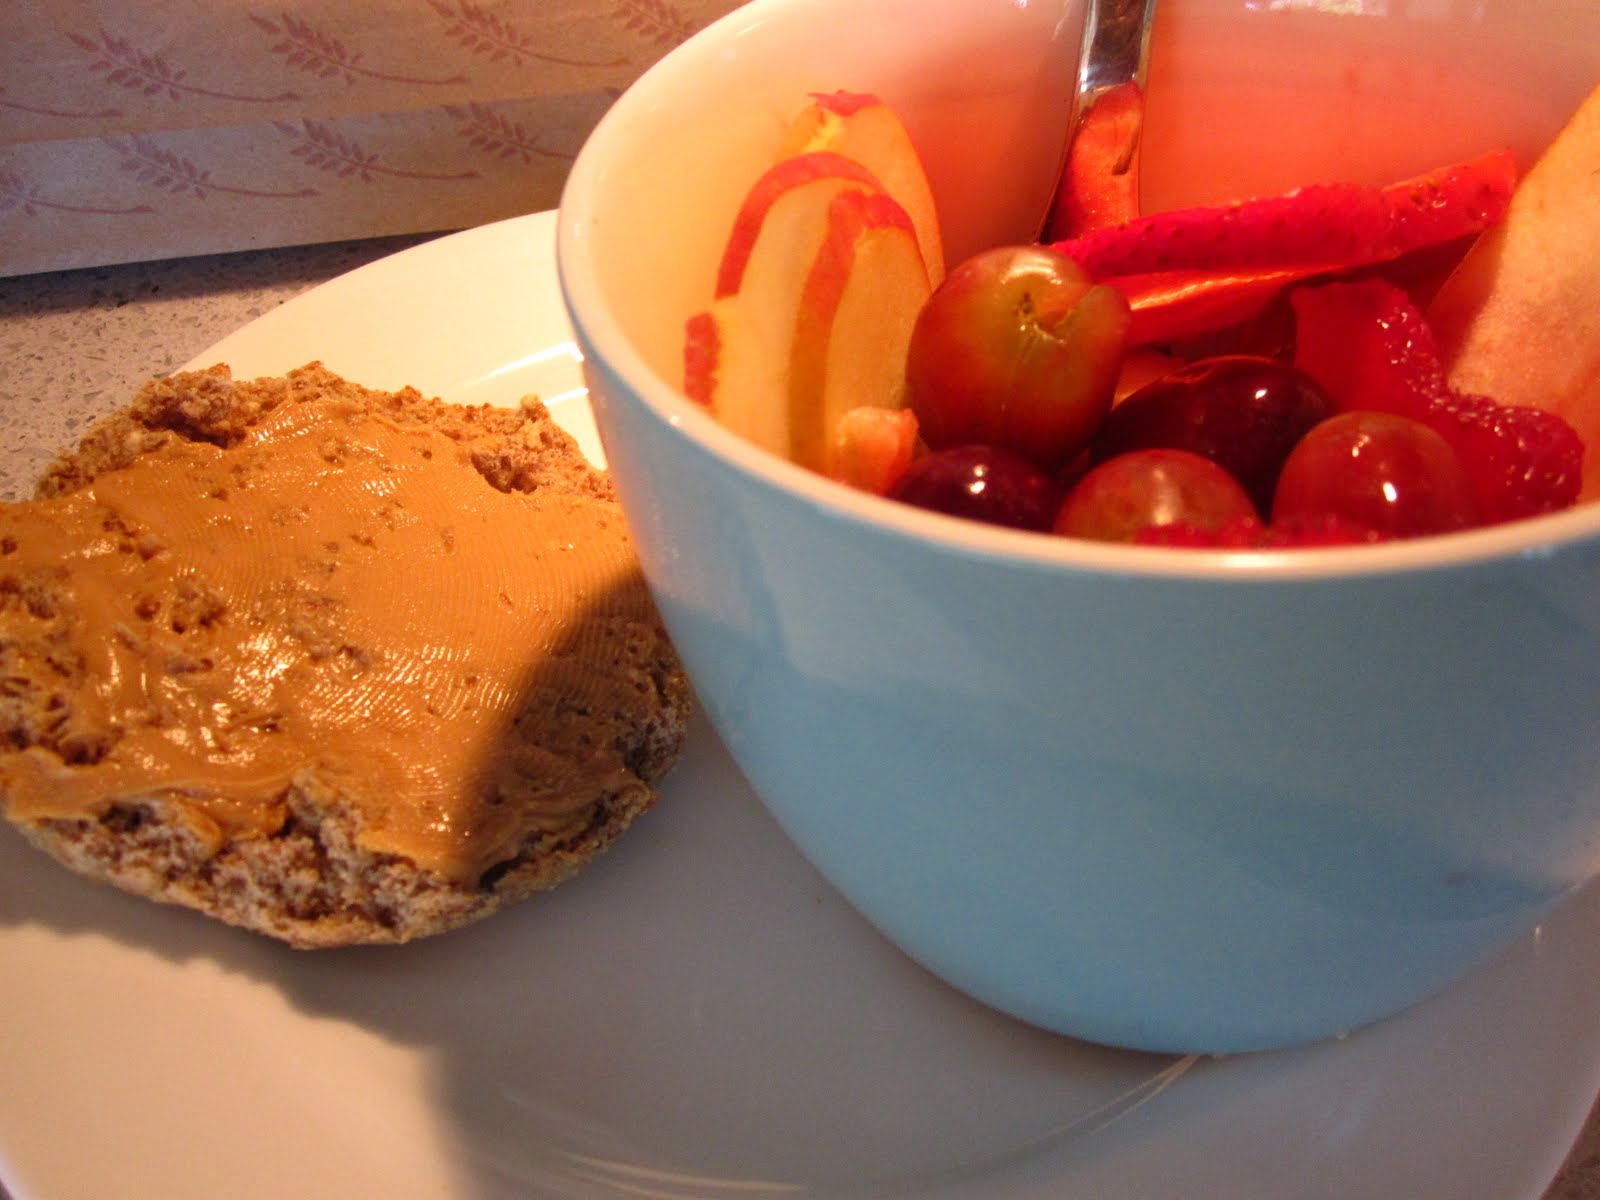
I have been buying pre-packaged fruit cups from Fresh and Easy. With my mandoline, I can make my own, perfectly, every morning. So, this morning it was thinly-sliced apples, strawberries and grapes with my 1/2 Ezekiel english muffin and organic peanut butter. The handheld food grabber stabs the end of the food you are slicing, hence the little poke marks on the apple. Paired with my fair trade blueberry coffee....heaven.
I bought a mandoline and some awesome coffee cups yesterday!
I sometimes need inspiration to get back into action. I have been so busy over the last month that I haven't had much time to dedicate to my kitchen and trying new recipes. It took trying something new from one of my favorite restaurants yesterday to get me back in the swing of things and excited to try new recipes. Once I find something I like, I rarely stray from it. At Green, I am never disappointed with the mock chicken kung pao. I hadn't eaten lunch there before, and I really wanted something lighter. I decided to order the Balsamic Picnic salad, which is fresh greens, strawberries, figs, pecans and a balsamic syrup (on the side).
I was determined to re-create the salad at home. The apples were so thinly-sliced, I knew I needed a slicer of some sort to achieve the same result. I went to Crate and Barrel after a lunch with my sister to find a mandoline. I walked out with an oxo mandoline slicer.
I also got some reusable straws in fun colors.
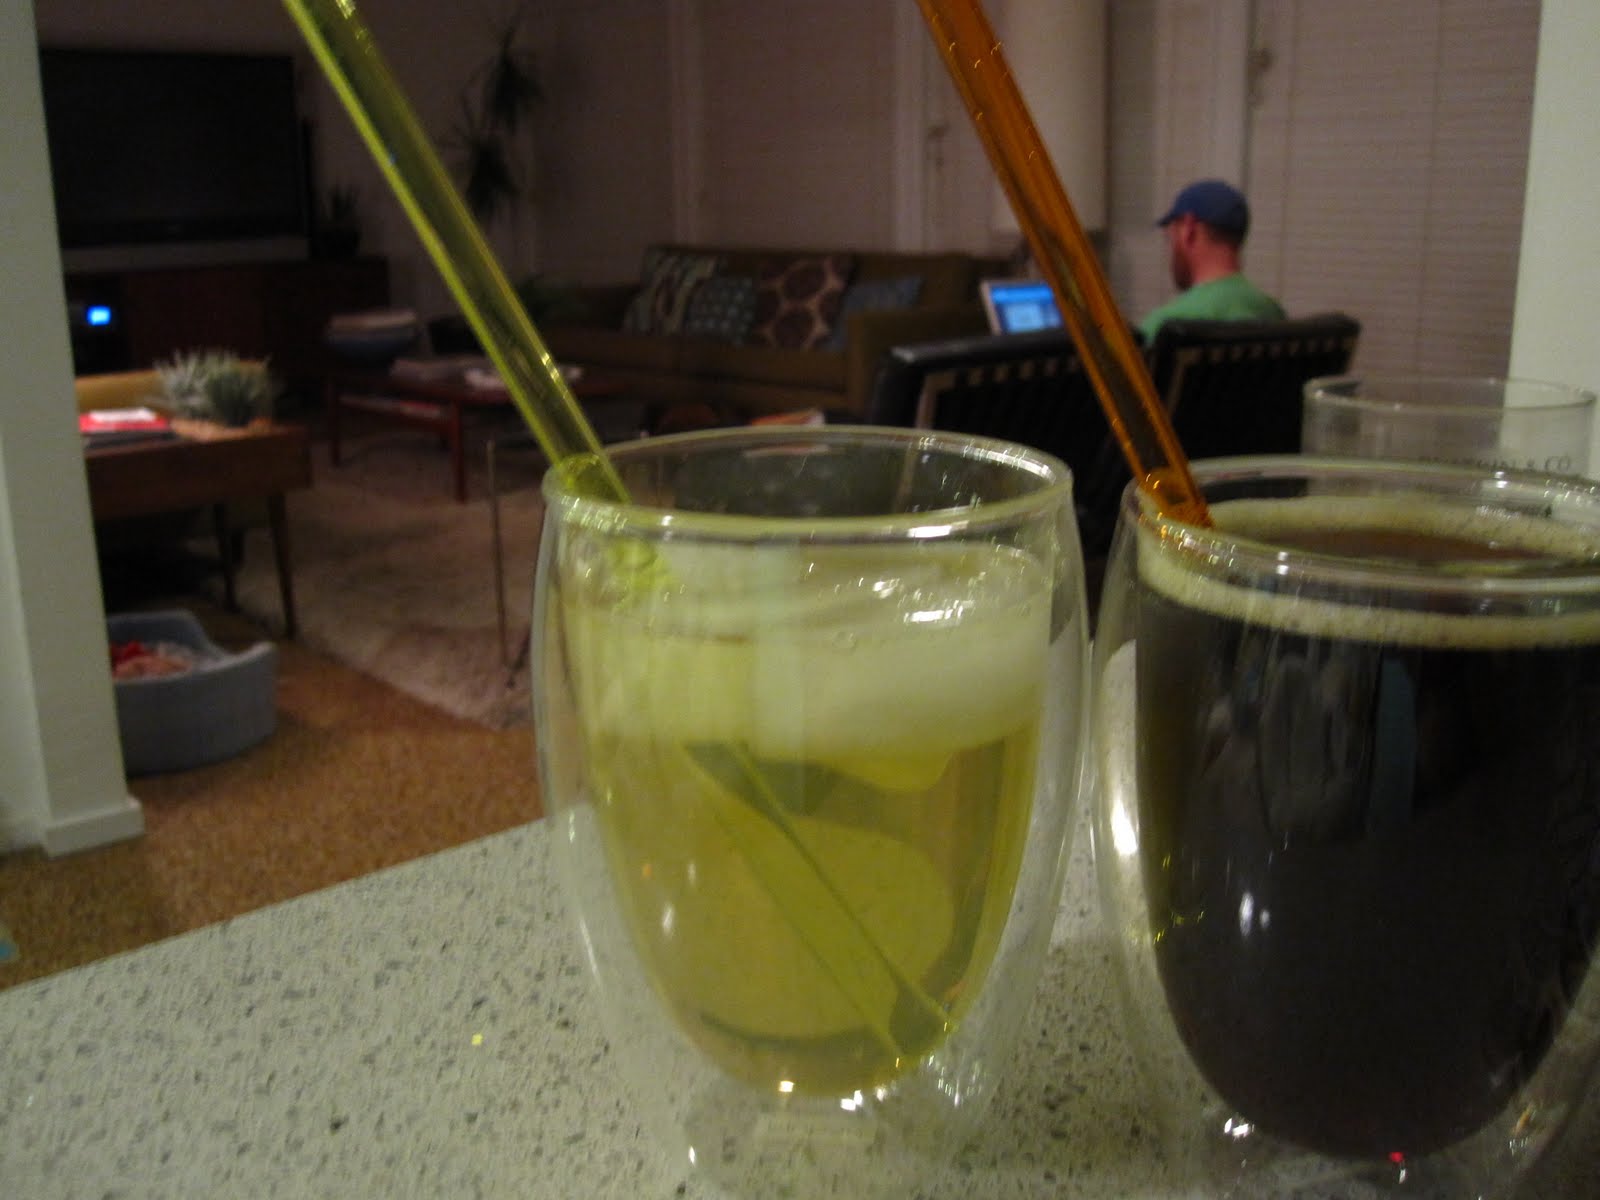
Amie and Chris took us out to True Food Kitchen on Monday and the boys got coffee with dessert. The coffee was served in these glass-in-glass cups, without handles. I was intrigued because the glass wasn't hot, but the coffee was. Turns out they are Bodum pavina tumblers and Crate and Barrel carries them. They can be used with hot and cold beverages and they don't sweat. I love green iced tea (with yellow straw) and Matt loves root beer (with orange straw). We are so matchy-matchy. ha.
I have a thing for tiny spoons...I know, weird. I like to eat food with the tiniest spoons possible. So, naturally, I bought these cute sorbet cups with matching spoons. I got a green one and a blue one. They were only $2.95/each....I couldn't resist. They are super tiny.
Labels:
coffee cups,
kitchen,
oxo mandoline,
reusable straws,
sorbet cups
Sunday, April 4, 2010
Easter vegan brunch. Rock n roll.
Today we invited our friend Matt and our bro Brandon over for vegan Easter brunch. I knew earlier this week that I wanted to find a vegan waffle and vegan whip cream recipe to make for Easter brunch. I bought all the ingredients for both, but also bought Soyatoo whip cream, just in case I didn't have time to make the whip cream from scratch. And, this morning, I, in fact, didn't have time to make my vegan whip cream-bummer! The consensus after spraying a bit of the canned Soyatoo for everyone to try was that it tastes like real whip cream. Thumbs up in my book!
If I knew how awesome these waffles would turn out, I would have invited more people over! Now that we know the recipe is top-notch, we will be able to continue the tradition of the Hibbard breakfast parties. We'll have to test a few more vegan breakfast recipes and we'll be in business!
In my hunt for vegan waffle recipes, I can across Vegan Food; More Than Tofu And Spouts . An inspiring blog with recipes that make my mouth water. Our waffles turned out fluffy and perfect! We cut fresh strawberries and blueberries to serve with our vegan whip cream and pure maple syrup. We also made fresh orange juice and served mimosas. What a perfect brunch-great food, good company and relaxation! And, the dogs had a fun chillaxin' today, too.
Vegan Waffles From Tofu N Sproutz blog
1 cup whole wheat pastry flour
1 cup white flour
1/4 tsp salt
4 tsp baking powder
2 cups soy or almond milk (I used vanilla almond milk, but use whatever - rice milk is too thin)
1/4 cup plus 1 Tbsp oil
2 Tbsp ground flax seed whizzed with 6 Tbsp soymilk or almond milk
1 tsp vanilla extract
In a large bowl, combine flour, baking powder and salt.
In a blender or food processor, combine remaining ingredients and process until well-combined and "airy".
Add milk mixture to the dry ingredients and mix until moistened - don't overmix or the waffles will turn out tough and heavy, a few lumps are fine.
Mixing the wet ingredients in a blender introduces lots of air bubbles, to make the waffles light and fluffy.
Cook according to your waffle maker.
The batter is enough to make 4 - 5 large Belgian waffles.
Here is the vegan whip cream recipe that I didn't get to make today from Diet, Dessert and Dogs Blog
Step 7: At this point, you can mound the cream over a pie, or put it in a piping bag and gently pipe it. It will seem too soft to pipe, but as long as it holds a shape in the bowl (and the surface of the cream doesn’t “melt” and flatten), it can be piped.
If I knew how awesome these waffles would turn out, I would have invited more people over! Now that we know the recipe is top-notch, we will be able to continue the tradition of the Hibbard breakfast parties. We'll have to test a few more vegan breakfast recipes and we'll be in business!
In my hunt for vegan waffle recipes, I can across Vegan Food; More Than Tofu And Spouts . An inspiring blog with recipes that make my mouth water. Our waffles turned out fluffy and perfect! We cut fresh strawberries and blueberries to serve with our vegan whip cream and pure maple syrup. We also made fresh orange juice and served mimosas. What a perfect brunch-great food, good company and relaxation! And, the dogs had a fun chillaxin' today, too.
Vegan Waffles From Tofu N Sproutz blog
1 cup whole wheat pastry flour
1 cup white flour
1/4 tsp salt
4 tsp baking powder
2 cups soy or almond milk (I used vanilla almond milk, but use whatever - rice milk is too thin)
1/4 cup plus 1 Tbsp oil
2 Tbsp ground flax seed whizzed with 6 Tbsp soymilk or almond milk
1 tsp vanilla extract
In a large bowl, combine flour, baking powder and salt.
In a blender or food processor, combine remaining ingredients and process until well-combined and "airy".
Add milk mixture to the dry ingredients and mix until moistened - don't overmix or the waffles will turn out tough and heavy, a few lumps are fine.
Mixing the wet ingredients in a blender introduces lots of air bubbles, to make the waffles light and fluffy.
Cook according to your waffle maker.
The batter is enough to make 4 - 5 large Belgian waffles.
Here is the vegan whip cream recipe that I didn't get to make today from Diet, Dessert and Dogs Blog
Coconut Whipped Cream
This is a great topping for fancy desserts. To make the cream, you will need a hand (immersion) blender (a regular blender won’t work for this) and electric beaters.
1/3 cup (80 ml.) vanilla rice milk
2 tsp. (10 ml.) home-ground agar “powder”
2 tsp. (10 ml.) plus 1 Tbsp. (15 ml.) cornstarch, divided
2 scant Tbsp. (25 ml.) agave nectar
pinch sea salt
1 tsp. (5 ml.) pure vanilla extract
1 can (398 ml.) full-fat coconut milk (22% fat content), at room temperature (shake well before opening)
Step 1: In a small pot, combine the rice milk and agar. Allow to sit, covered and at room temperature, for at least 30 minutes.
Step 2: Stir everything but the 1 Tbsp. cornstarch into the agar mixture and whisk to combine. Cook over medium heat, stirring constantly, until the mixture just begins to boil. Lower heat so that the mixture is still bubbling just under the surface, and set a timer for 10 minutes. While it continues to cook, stir every minute or so.
After 5 minutes, choose one of the following options: (1) if all the agar is dissolved (and no longer visible on a rubber spatula or spoon), remove from heat and turn off the timer (just forget about the last 5 minutes). Pour into a bowl and proceed to step 3.
then continue to cook for the remaining 5 minutes on the timer, and stir every minute or so. After 5 more minutes (10 total), remove the mixture from the heat, even if there are still tiny bits of agar left in it (they will be blended out next). Pour into a bowl and proceed to step 3.
Step 3: Pour the mixture into a deep bowl. Immediately blend with your immersion blender until perfectly smooth and no bits of agar are visible (careful, it’s hot and may spray a bit!). Set aside to cool somewhat.
Step 4: When the mixture is still slightly warm but no longer hot (and still fairly liquid), sprinkle the remaining 1 Tbsp. cornstarch over the top; using the immersion blender, blend again to even out the texture and get rid of any little lumps. Place the bowl in the refrigerator until the mixture is ice-cold; it will become very solid, like an extremely firm gel.
Step 5: Once again using the immersion blender, blend the gelled mixture until it is perfectly smooth and no lumps remain, but don’t blend any more than necessary. Scrape down the sides as you go.
Step 6: Now, using the beaters, beat the smoothed mixture until soft peaks form. If the mixture is cold, this should happen fairly quickly. You’ll have a soft cream that holds very soft peaks, but definitely holds its shape.Step 7: At this point, you can mound the cream over a pie, or put it in a piping bag and gently pipe it. It will seem too soft to pipe, but as long as it holds a shape in the bowl (and the surface of the cream doesn’t “melt” and flatten), it can be piped.
Wednesday, March 31, 2010
Store-bought vegan black bean soup sucks....so try this recipe
I have been on a soup kick lately, which is funny because I have hated soup for my entire life. I still hate most soups, but have come marginally close to liking store-bought black bean soup. But, something was missing. Why is it that all vegan black bean soup is flavorless? I remember the first crock pot recipe I ever made; Texas Black Bean soup. It wasn't a vegan recipe, but I modified the recipe. It is weight-watchers friendly and mighty tasty.
I'll be eating this soup for lunch for the next week.
Texas Black Bean Soup
POINTS® Value: 4
Servings: 6
Preparation Time: 5min
Cooking Time: 240min
Level of Difficulty: Easy
Course: main meals
Ingredients
* 2 can(s) Rosaritos Black Beans (Rinse & Drain) Pour into Crock Pot (I used vegetarian REFRIED black beans)
* 1 can S & W Stewed Tomatoes Mexican Recipe, Pour into Crock Pot
* 1can S & W Diced Tomatos w/Onion & Green Chilli, Pour Into Crock Pot
* 1 can Swanson Reduced Sodiom vegetable Broth, Pour into Crock Pot
* 1 can Green Giant MexiCorn, (Drain) Pour into Crock Pot
* 2 can(s) LaVie Diced Green Chilli's FireRoasted Mild, (Drain) Pour into Crock Pot
* 4 Green Onions, Thinly Sliced
* 2 tbsp chili powder, Put into Crock Pot
* 1 tsp McCormick Ground cumin, Put into Crock Pot
* 1/2 tsp Dried Minced Garlic.. Put into Crock Pot
Instructions
Put all ingredients into crock pot, stir, cover and set on high for 4-5 hours. Occasionally stir. If it begins to bubble then switch to low heat.
Labels:
dinner,
lunch,
soup,
vegan,
vegan recipes,
weight watchers
Tuesday, March 30, 2010
Our new edible garden!
Matt and I have have been wanting to start an edible garden for years. We would always talk about it, but could never commit to a spot in the yard, what to grow, how to start, etc. We were easily defeated by the daunting task of creating a thriving garden.
With the addition of our back patio cover, we now have a lovely spot that gets about 5 hours of morning sun, but skirts the harsh afternoon sun. We also have access to drip irrigation on the edge of the patio and the area gets a light sprinkling from the lawn.
While I wanted HUGE containers for our edible garden, the biggest, most economical solution for our containers were horse feed troughs. We got referred to Tempe Feed and Tack and they had 4 x 2 x 1 galvanized steel troughs for $115/each.
We got the troughs home, set them up on the patio and began to prepare them for the garden. We drilled several 1/4" holes in the bottom of the troughs. Then, we lined the bottom of the troughs with weed paper, which will allow water to drain, but not the soil. We also lined the interior of the trough with plastic sheeting, to prevent leaching of the metal into the soil. We filled each trough with 3 big bags of soil and proceeded to transplant some of our seedlings and plants into the troughs.
We are growing tomatoes, zucchini, red onions, green onions, cilantro, red grapes, strawberries, blueberries, basil, jalapenos, sage, leek, sweet peppers, cucumber, cantaloupe and eggplant. We hope to see some success with our first edible garden. If we fail, we'll try again. Wish us luck!
Monday, March 22, 2010
Adding to the Hibbard orchard
Matt surprised me today with 2 new trees! I thought he had flowers behind his back, but he pulled out a meyer lemon tree and then a Mexican lime tree. I have grown tired of stealing my neighbors' lemons and I have yet to find a neighbor with limes, so the gifts are so appreciated! They are cute little trees and Matt got the 2 for $10 at Home Depot!
Subscribe to:
Posts (Atom)